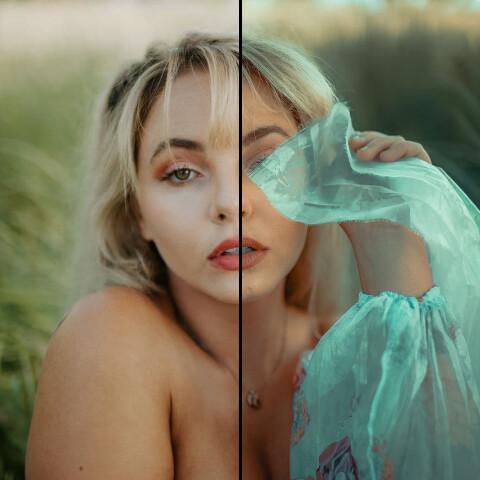
Today we will show you one of the color correction options in the TEAL ORANGE style. The preset will be created with beautiful pearlescent leather, combined with orange with a reddish tint and turquoise. And due to the fact that you asked for a matte preset, we made a matte preset in the TEAL ORANGE style. Well, let’s get down to our unusual preset


 7 votes
You can choose the option that is better for you below
- You can follow this step-by-step guide to create a preset
- You can edit photos by yourself, watching our videos
- You can download our presets for free, but for this you need to carefully watch the video and remember the password (****) for downloading the preset in DNG format. Attention! The password appears only if you watch the video on YouTube, on this website (only on computer’s browsers) or on YouTube app.
- You can also buy set of presets like this. Look at the items down below


How to create TEAL ORANGE for mobile Lightroom | Guide
For TEAL ORANGE preset we recommend use photos with green, blue, yellow, red, orange details.
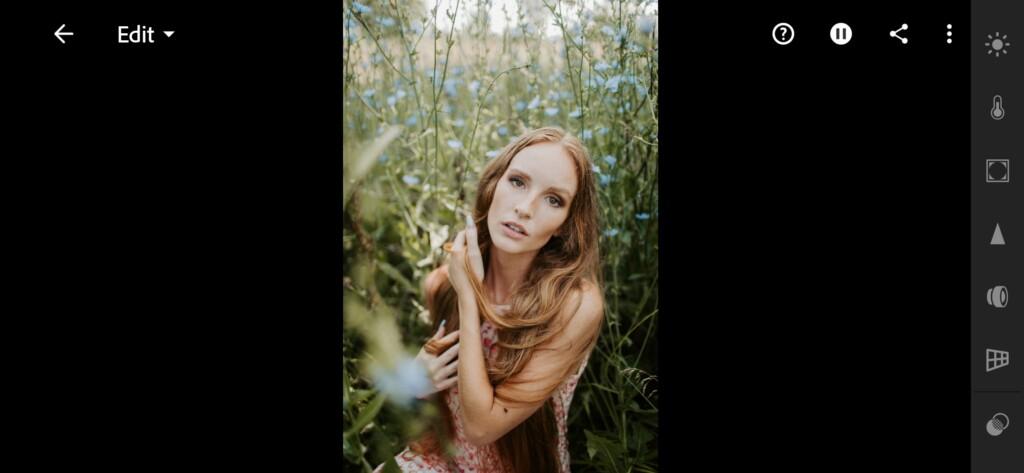
1. Choose your photo
To create presets, your best bet is to use a photo with blue and orange, yellow details so that you can see the changes immediately.
2. Light correction
With the help of light correction, we will create with you beautiful skin with a pearlescent effect. This effect works best in sunny photographs. In general, it is best to take photos with sunlight, it gives them a special beauty.

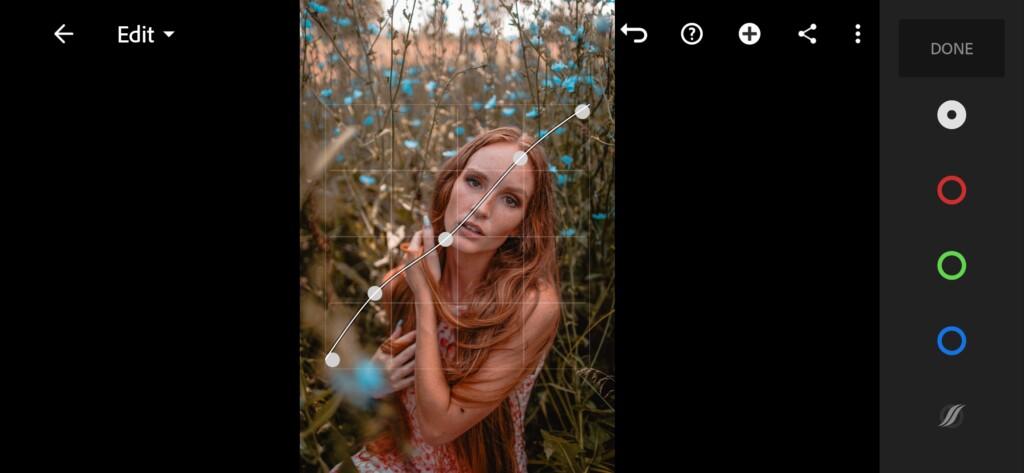
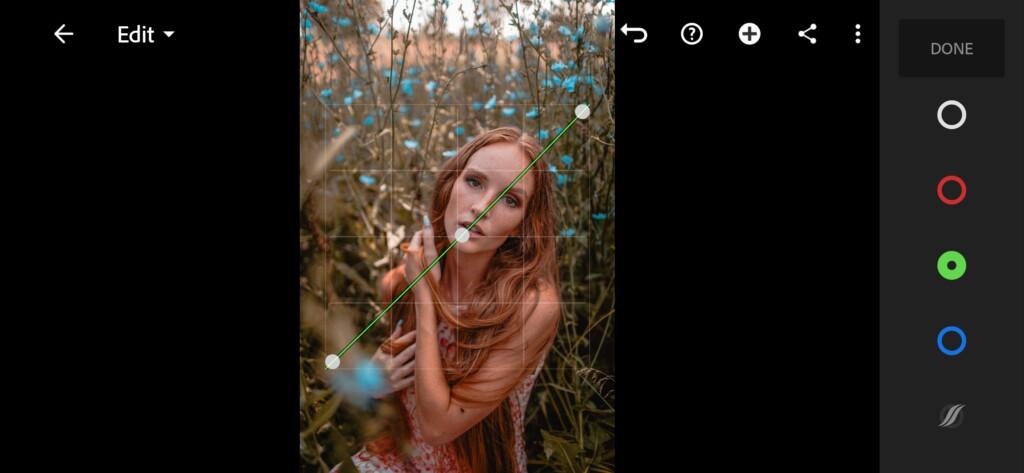
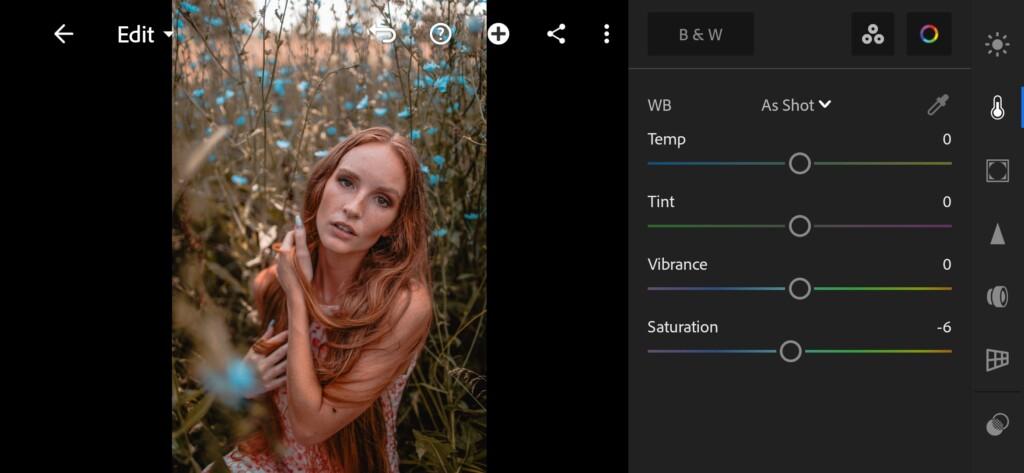
3. Color correction
We’re going to use a reddish-turquoise tint for the highlights, and then use a split tone to add a blue tint to the shadows and a yellow-green tint to the highlights.
05 Teal Orange Lightroom Preset 
06 Teal Orange Lightroom Preset 
07 Teal Orange Lightroom Preset 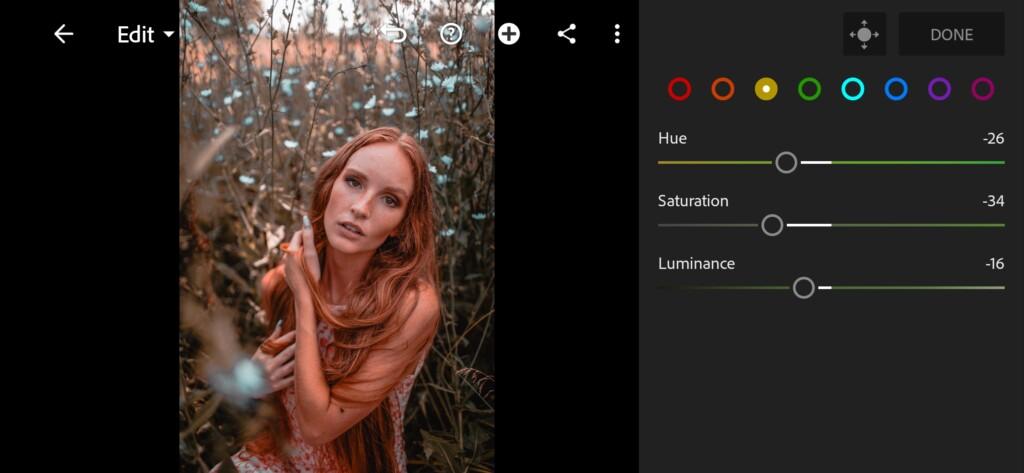
08 Teal Orange Lightroom Preset 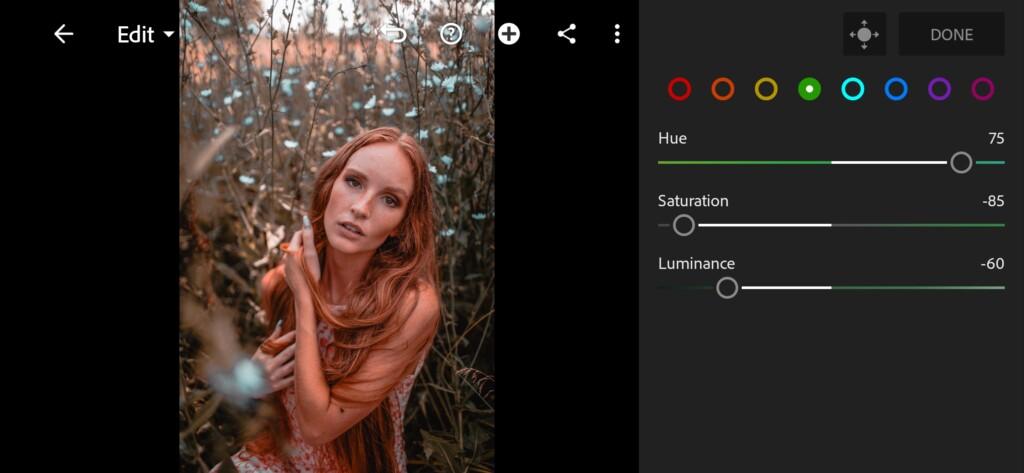
09 Teal Orange Lightroom Preset 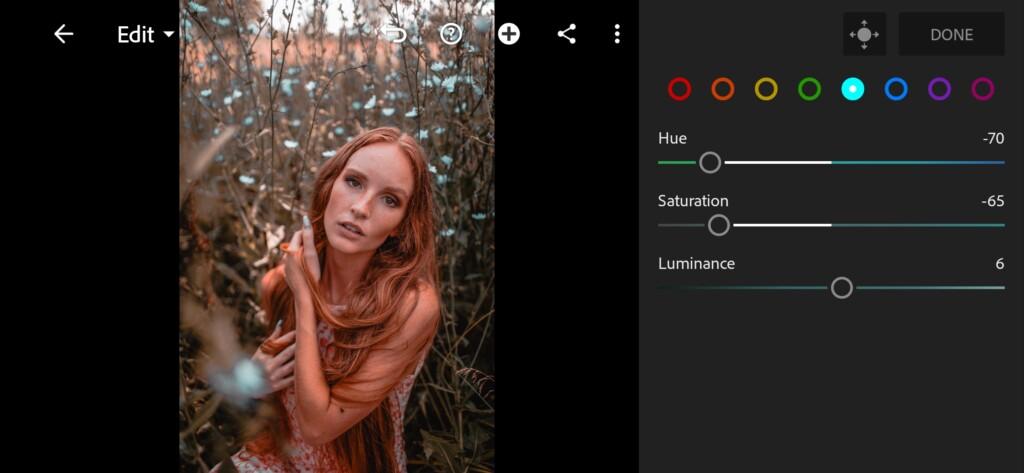
10 Teal Orange Lightroom Preset 
11 Teal Orange Lightroom Preset 
12 Teal Orange Lightroom Preset 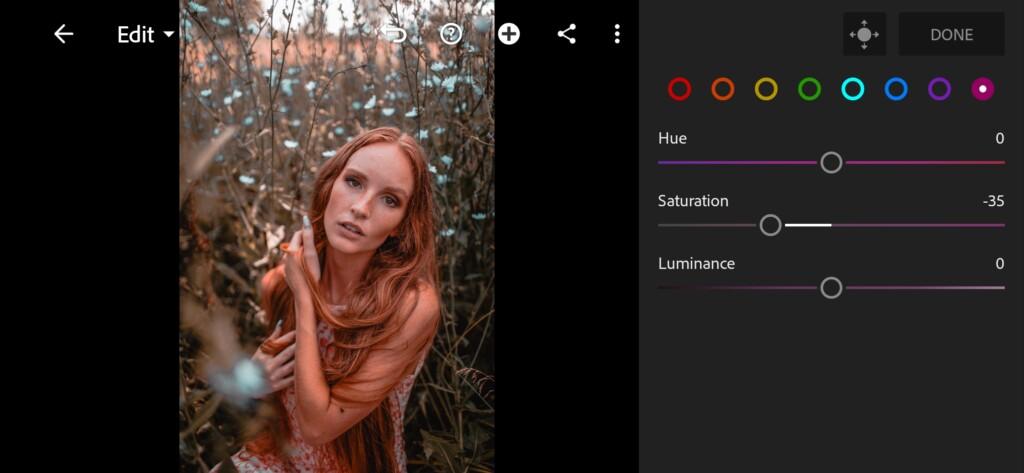
13 Teal Orange Lightroom Preset 
14 Teal Orange Lightroom Preset 
15 Teal Orange Lightroom Preset
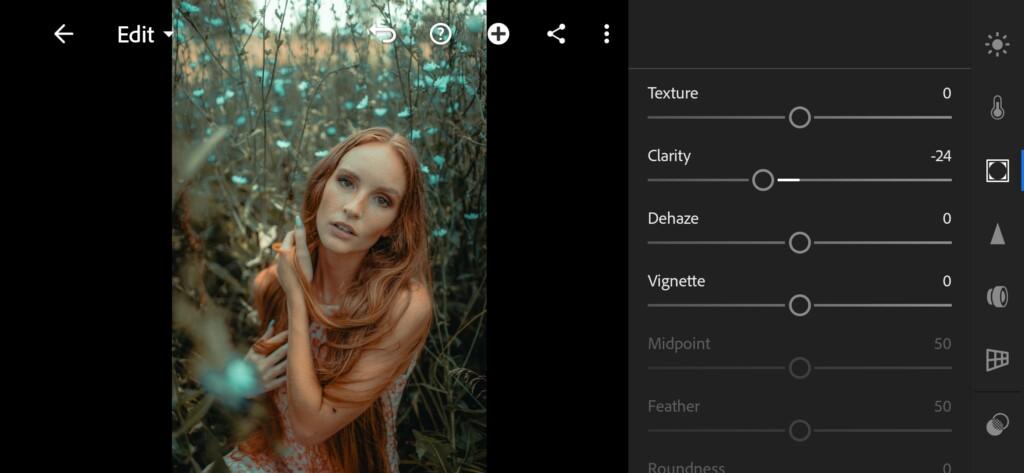
4. Effect Editing
Now we select the clarity effect, and set this effect to minus 24.
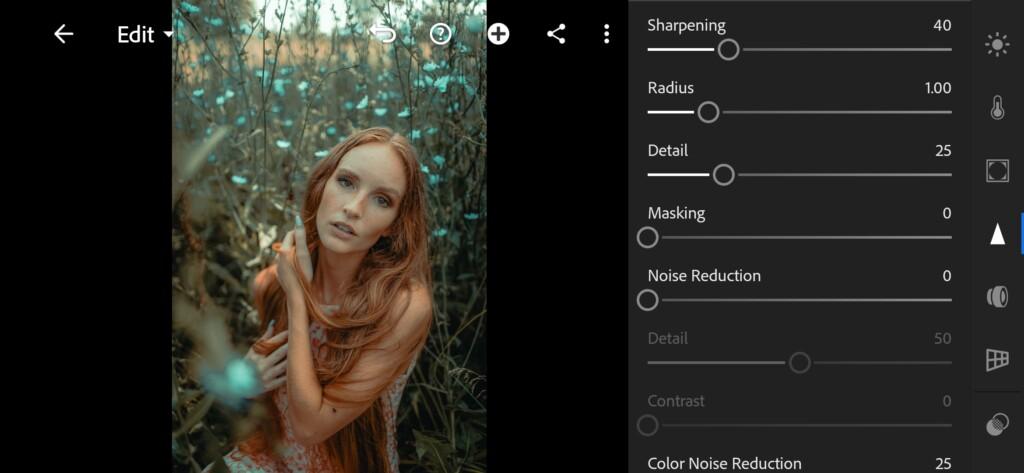
5. Detail correction
In the detail correction, we will smooth out our details in the photo a little using clarity.
17 Teal Orange Lightroom Preset 
18 Teal Orange Lightroom Preset
6. Preset is ready
Our beautiful TEAL ORANGE preset with pearlescent skin is ready.

7. Save this preset
If you are delighted with our presets, save them without hesitation!
If you still don’t know how to save a preset, see this article. If you have any questions, please contact us. We are always happy to help!
We really hope that you will appreciate our efforts! Thank you for supporting us!
Watch the video how to create Teal Orange Lightroom preset | Tutorial
Download the Preset
To download the Preset for free you need to have a password which appears twice on the top right corner during the video