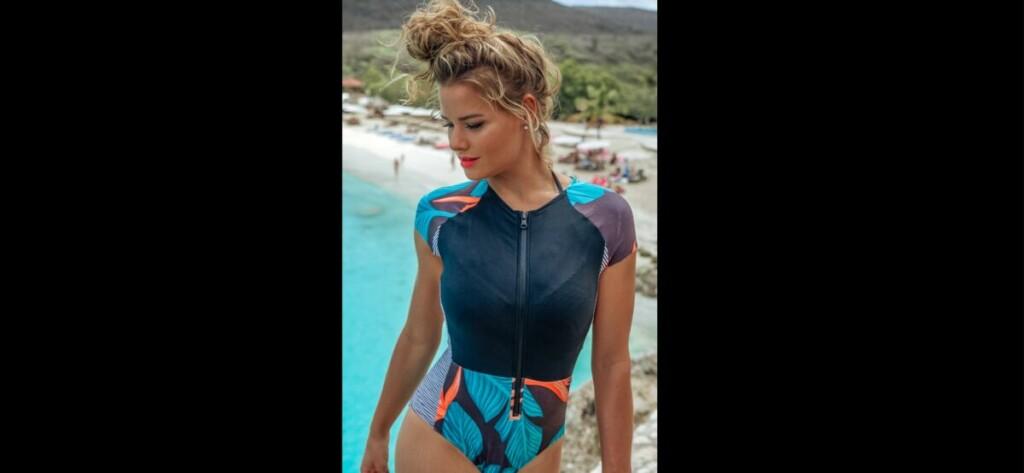
This step by step guide is going to help you improve your skills in photo editing and make every preset suit for your own photos.
In this article, we’ll show you how to customize our presets for your photos. We will show the simplest options, without using curves. Anyone can do it for easy ?
For the first example, we chose the BRIGHT SUMMER preset, it is quite popular on our channel
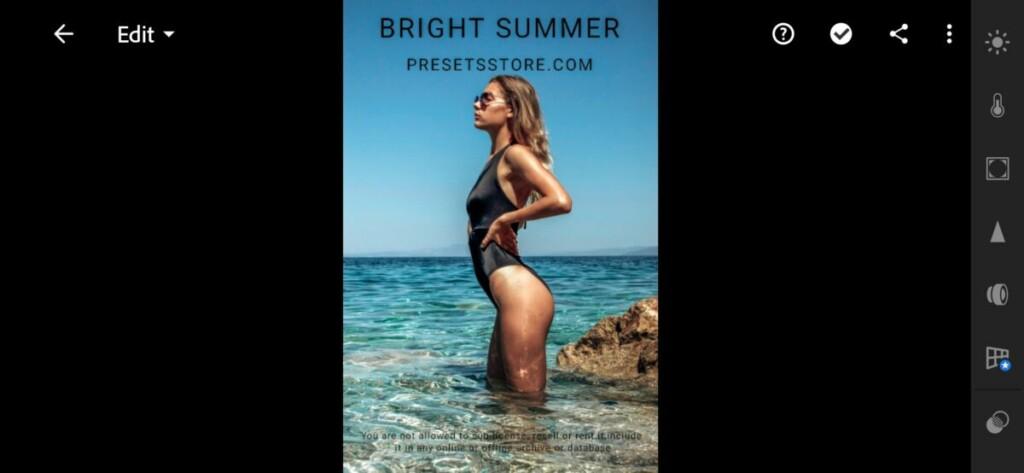
We also chose a photo in which we will show the adjustments. At the moment, a photo without applying a preset
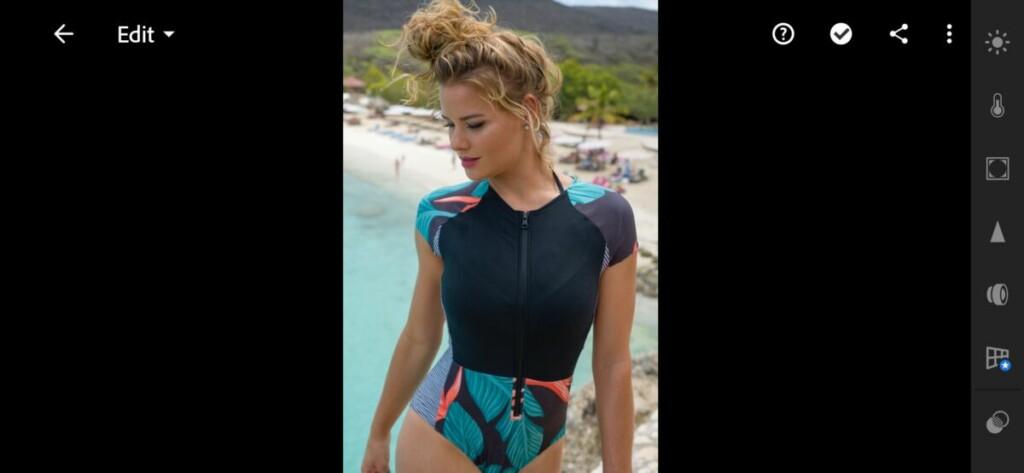
Here we have already copied the preset settings and applied them to our photo. The result was not pleasing. What do we see?
- The photo is dark
- Red skin
But it’s all fixable! ? Don’t worry ?
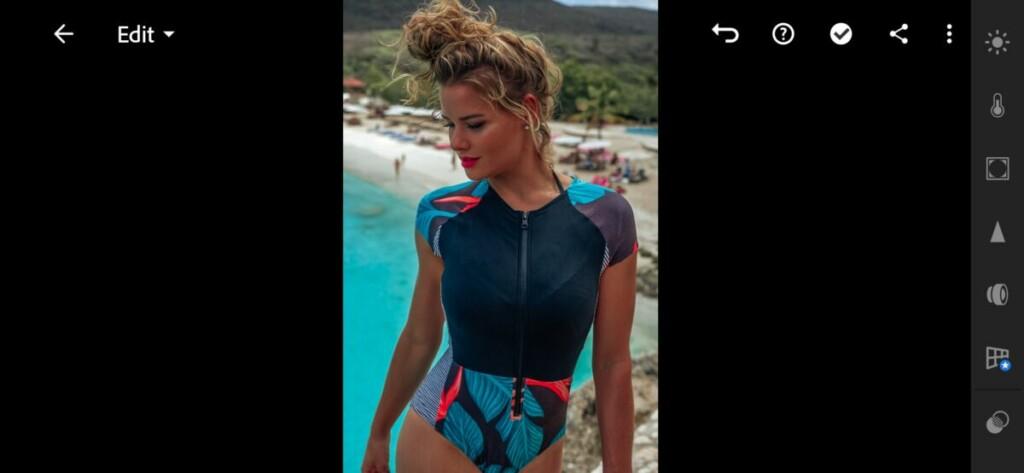
Let’s start our preset setup:
- First of all we need to brighten the photo a little. This can be done using Exposure. In our case, Exposure is -1.03, but for this photo, this setting is not suitable, and we add Exposure to -0.43. Now it has become lighter and better, but the skin is still red …
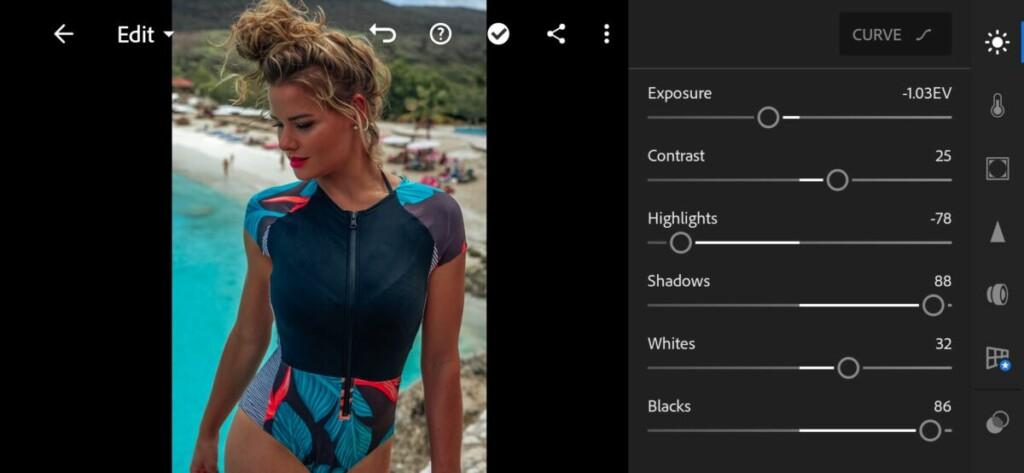
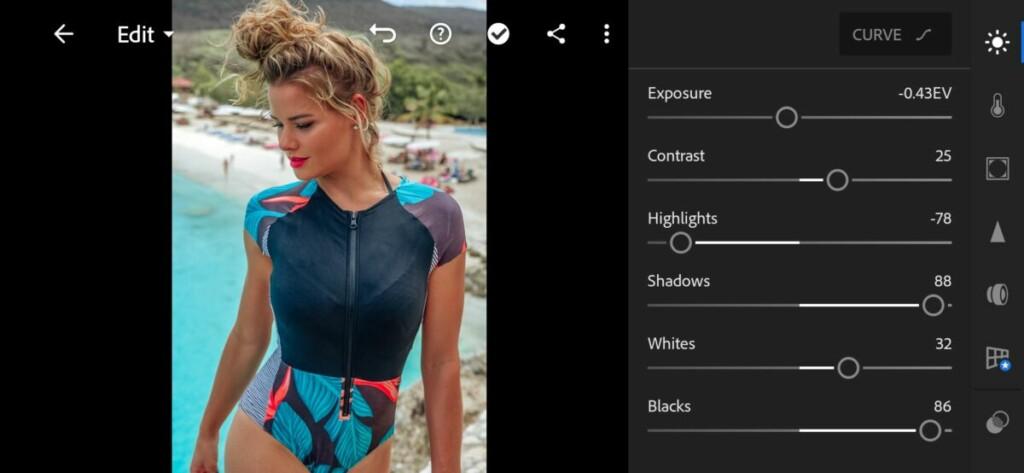
To correct the skin tone, we use red, orange, sometimes yellow. In our case, we will only be adjusting the red and orange colors. We have a Red Hue of -55, but this is too much for our photo, and we will slightly change the red hue to -13
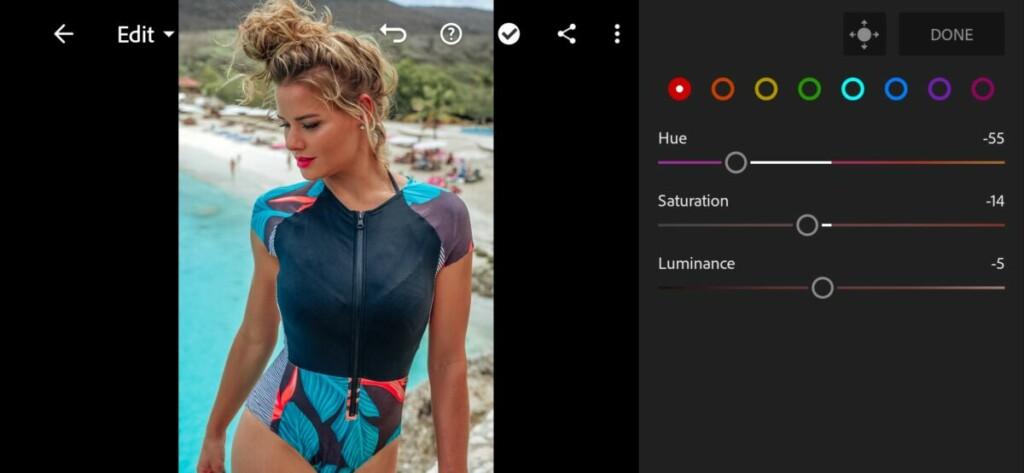
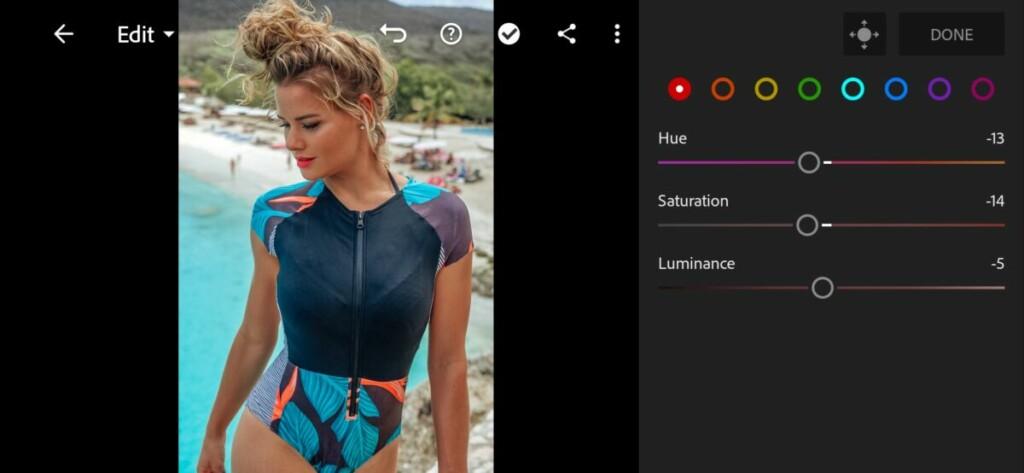
The skin is still slightly reddish. Moving on to orange. We are going to correct Orange Hue, Saturation, Luminance. Below you can see our changes
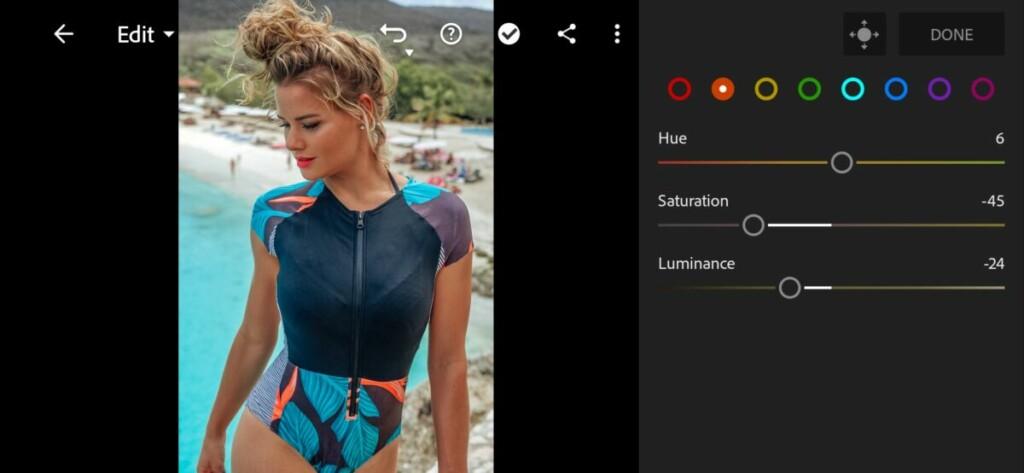
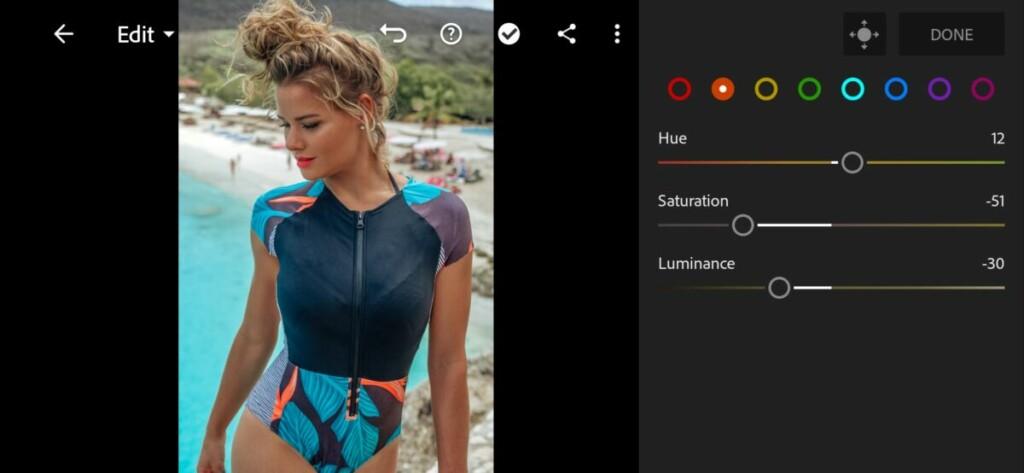
Hoorah! We adjusted the preset for our photo, and learned a little more new and useful things today! You can congratulate yourself! You are great?. If you are interested in setting up other presets for your photos, please write under this post. Your dedicated PresetsStore team❤️
